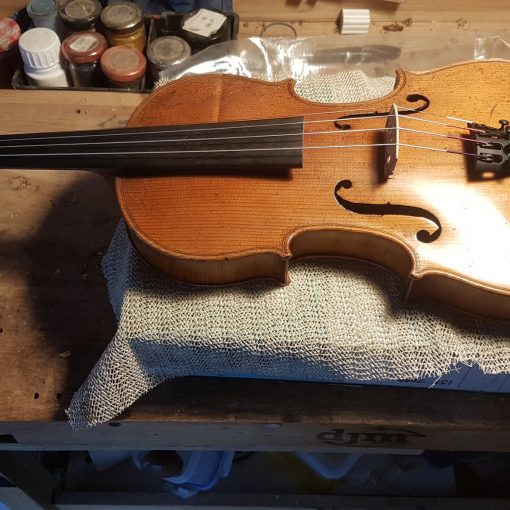
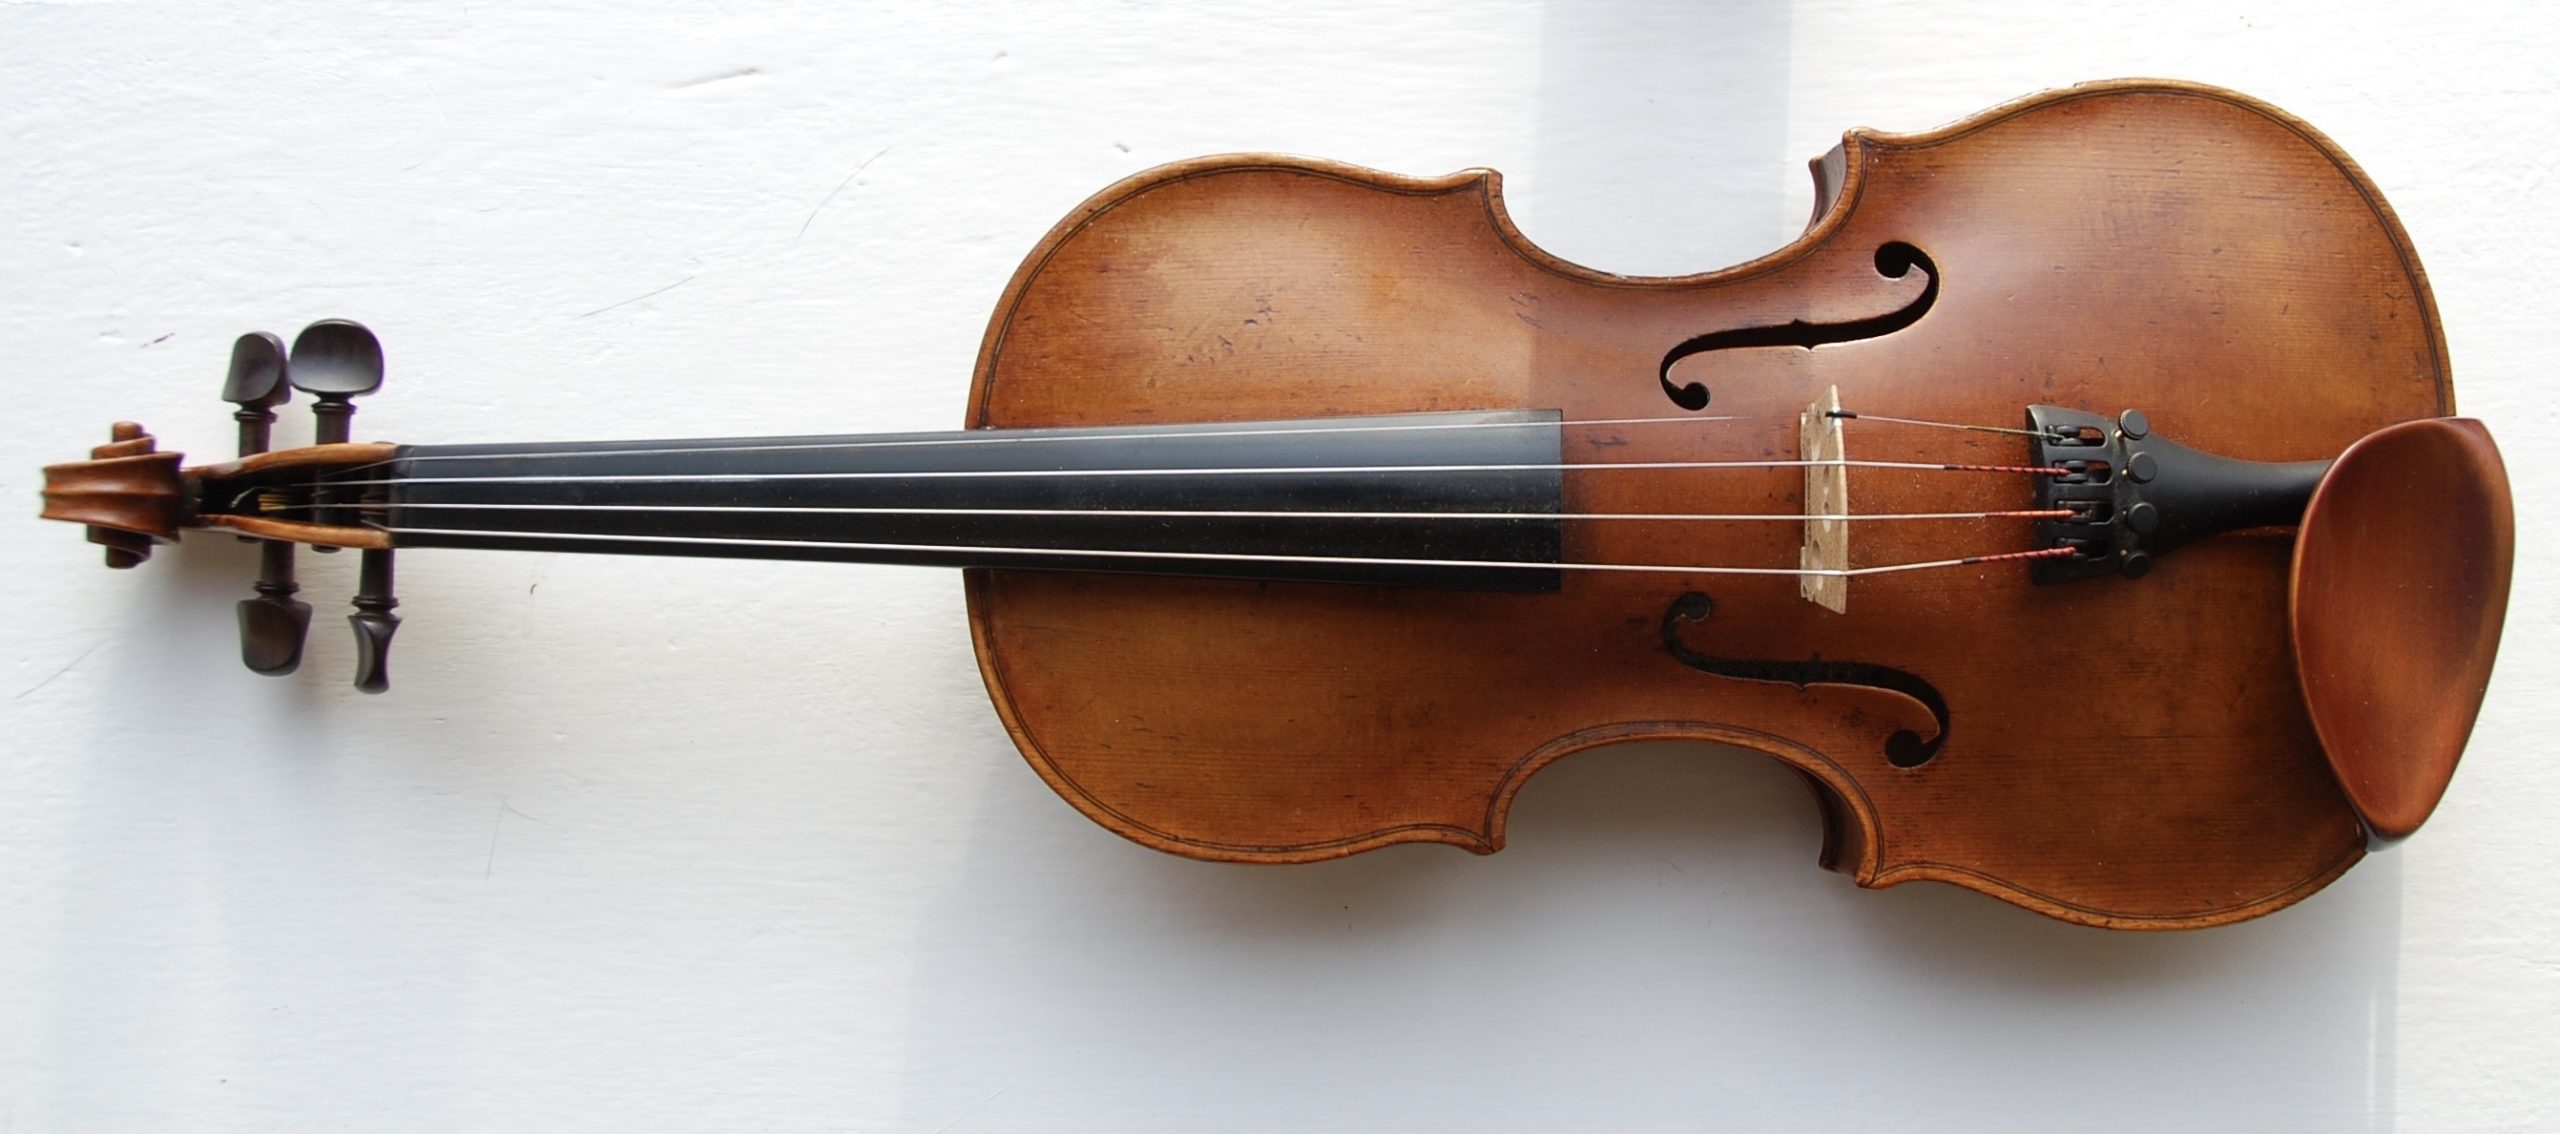
This violin made in Gomersal in West Yorkshire in 1899 by William Heaton has been in my workshop a few times now for minor adjustments. It has been becoming more and more prone to open seams around the bottom bout, the reason for this being that there was barely any overhang left with the joint between the plate and the ribs.
This is a fairly common occurrence for instruments due to the differential shrinkage across the grain as the wood ages. The only real way to resolve it is to take the whole instrument apart and shorten the ribs from the ends, and then re-glue them.
The owner decided that as I was doing some other work on the instrument now anyway with the pegs, now was as good a time as any to bite the bullet and tackle the whole job. The instrument also needed a new bridge, as the old one was too wide for the position of the bass bar (a woefully common occurrence when measurements deviate from the standard specs.) The instrument also needed a good clean and some more varnish applying in areas where it had been worn back to bare wood.
When I took the strings off, it became clear that the centre joint was actually open under the tailpiece. It had obviously been like this for a while as it was filled with dirt.
Although the centre joint was actually reinforced with cleats already, the grain deviated fairly severely from being parallel in the area where it had open, and it had obviously just shrunk enough it had been forced open even despite the cleats.
I realised that in order to regain the overhang along the bottom of the instrument, it would also make sense to unglue the bottom block and move it in slightly.
Originally I planned only to unglue the ribs on the bottom bout and maybe as far as the C bouts, however it became clear that they would benefit from shortening at the top block as well. Also they had been glued on (during a 1960s repair I suspect based upon date written inside) using an overabundance of string smelling but rather ineffectual fish glue. I decided it was best to remove the rib garland entirely and clean off the fish glue away and then re-align everything to be sure of good placement and a good joint. It was rather dramatic taking the instrument apart to such a degree, but because the top block had already been replaced at some point, and the neck pinned in place, I that this would be solidly attached to the back and provide a reliable reference point for getting everything re-attached without altering things like the elevation and projection.
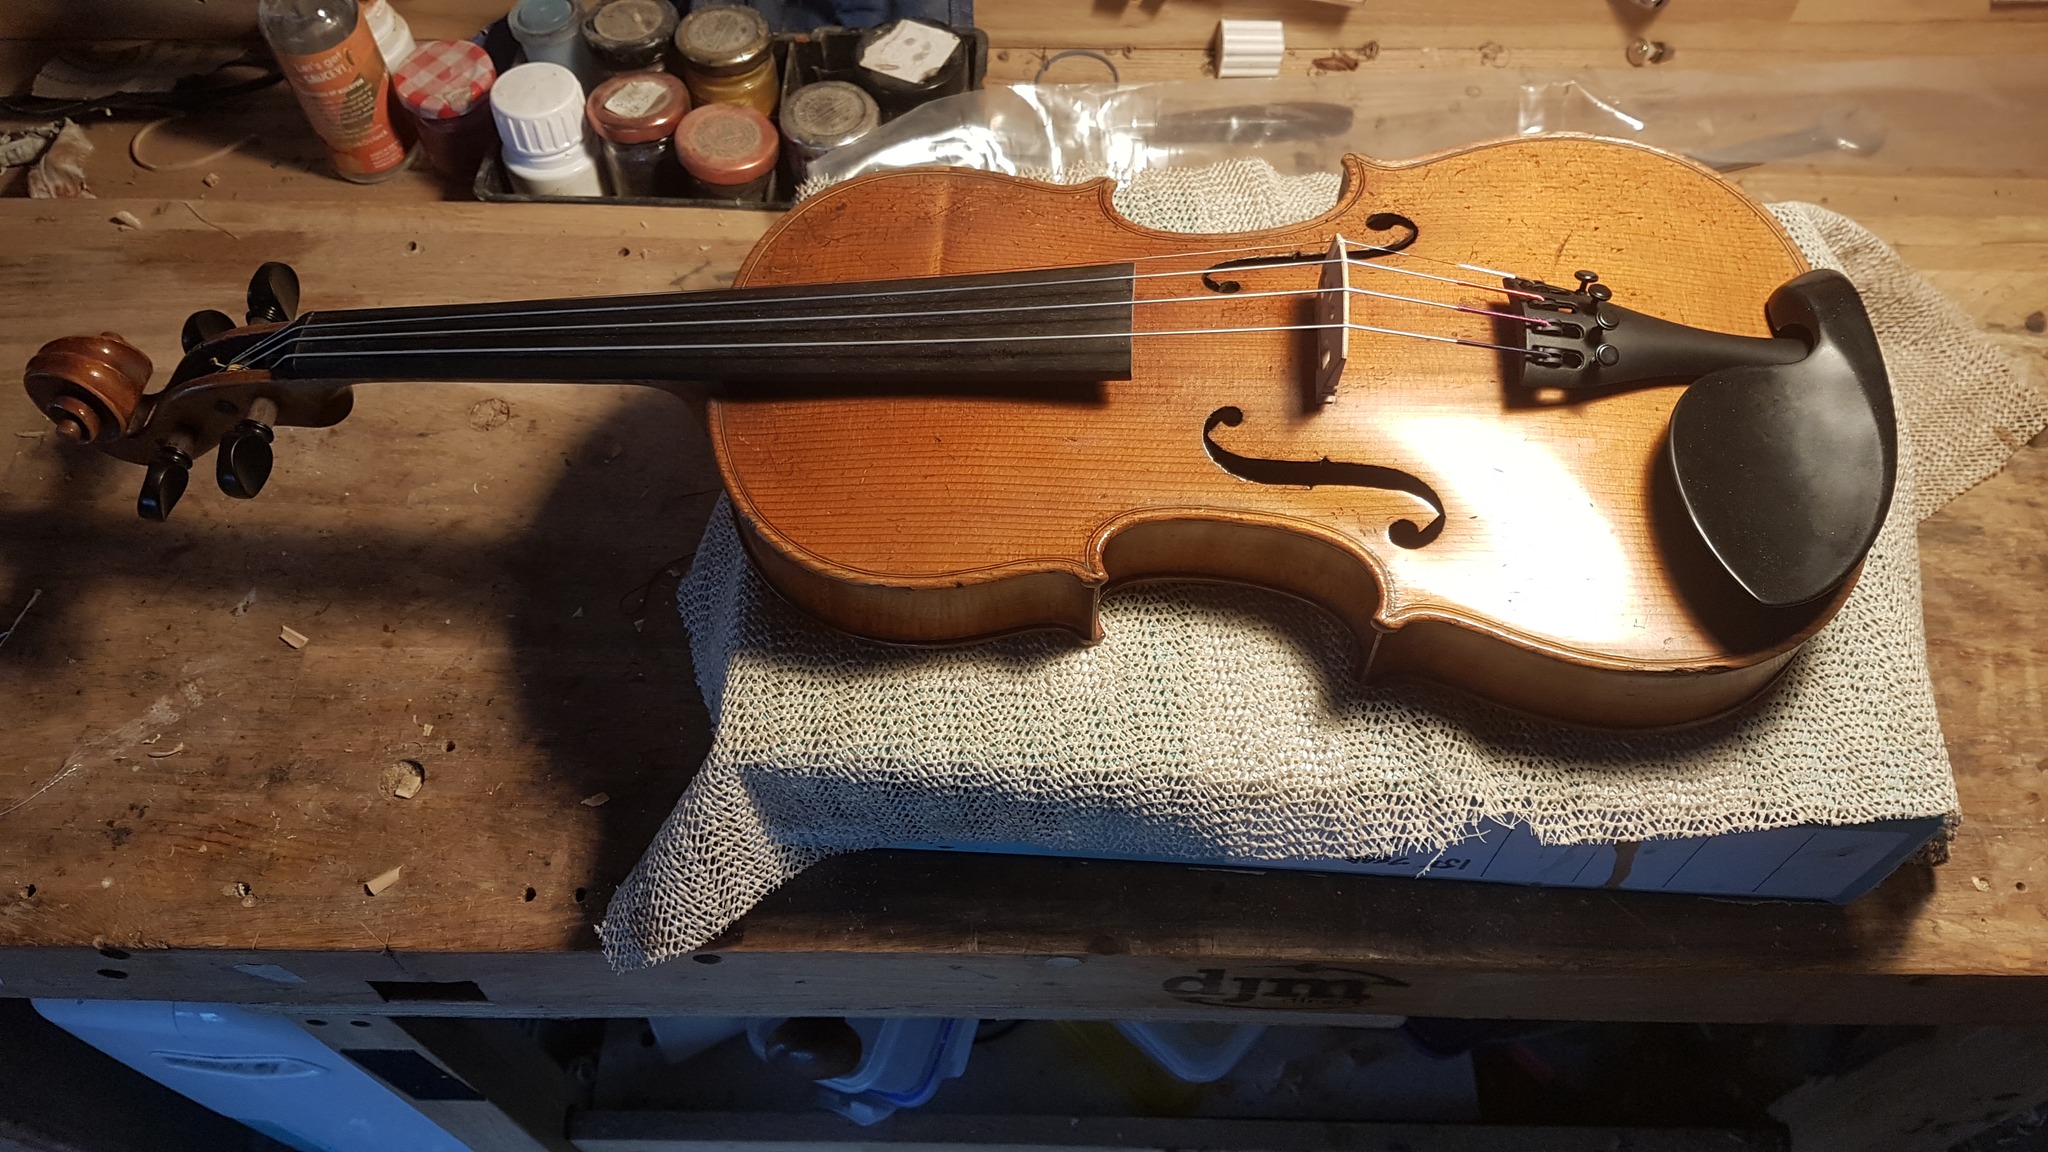
It was very satisfying to get everything re-aligned with the appropriate overhang. Not to mention cleaning away all the nasty fish glue.
There were also old repairs on the front plate which were not of the tidiest variety and more importantly were not actually reinforced in any way. Some small cracks at the bottom of the f-holes had actually re-opened, so I re-glued them and fitted cleats there as well as on the old-repairs, in order to make sure they didn’t go the same way.
And finally once the instrument was reassembled I re-varnished the worn down areas (especially around the points of contact with the players hand on the top bout), and gave the whole thing a protective coat of wax polish before fitting a new bridge and soundpost.
You may also like
Published
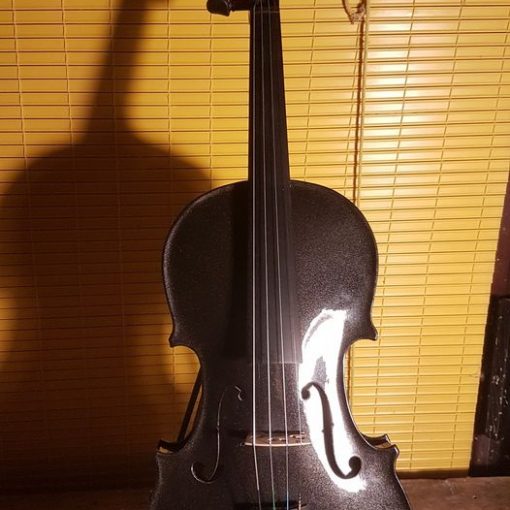
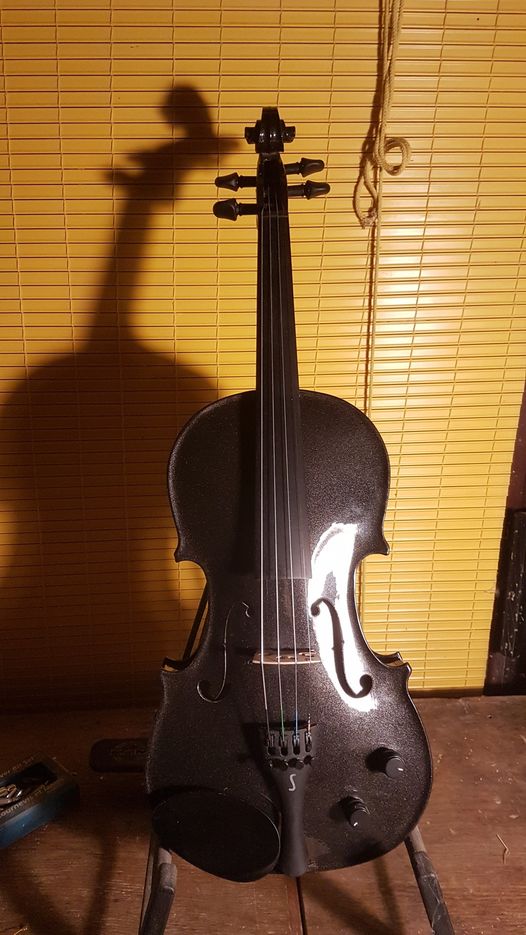
The owner of this electro-acoustic violin wanted some mechanical pegs fitted in order to ease tuning. She was also having some issues […]
Published
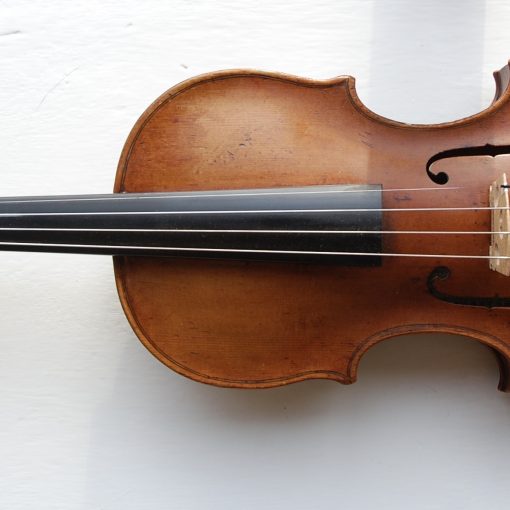
This was one of my final jobs from 2022. A lovely old Georg Kloz violin from Mittenwald. I’ve worked on this instrument […]
Published
This bass came in for some extensive repair work – a hole had been knocked right through the side, and there was […]
Published
I gave this violin a new bridge last year, now it’s back for a new soundpost to try and optimise the string […]


