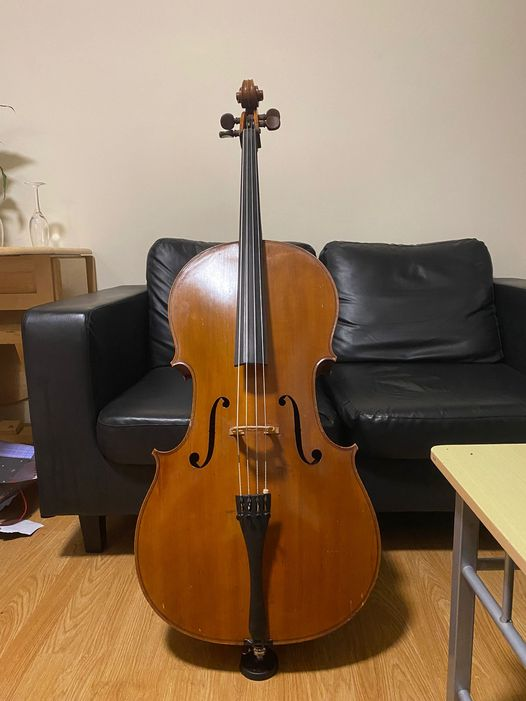
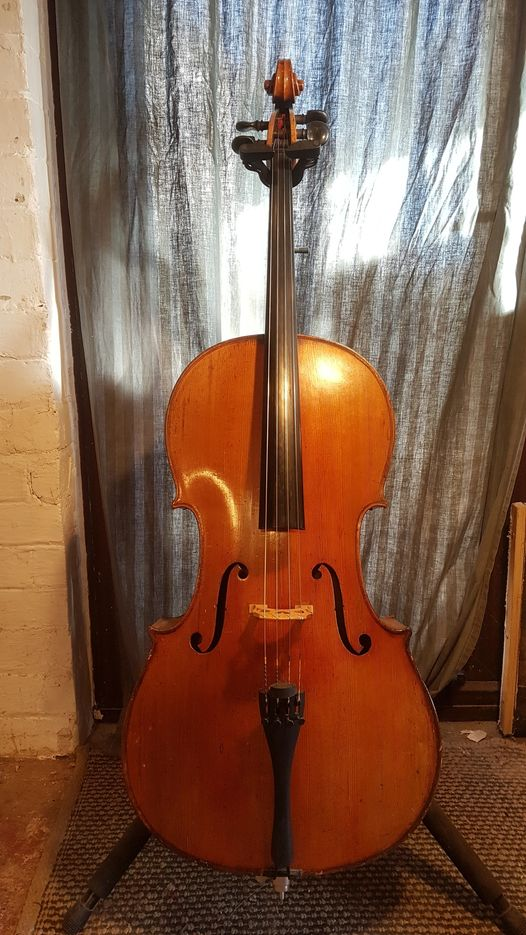
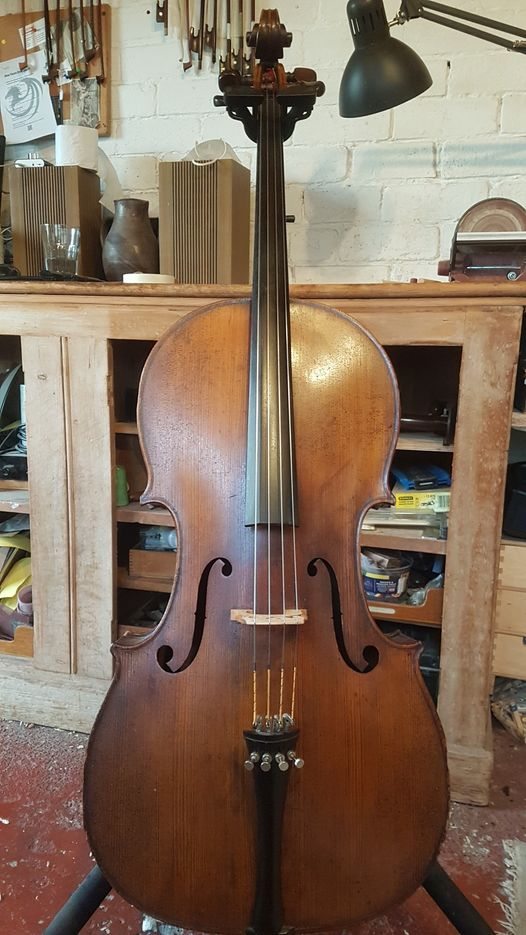
Theo

103 posts

This violin came in because the owner was finding it difficult to play in tune and double stop clearly. There were a few issues to correct; the bridge was a little twisted on its axis (though thankfully not warped), and the strings were unusually far apart. Also the string height at the next was more than it needed to be, meaning low first position notes were especially difficult to play. I also changed the strings, as the old ones had degraded to the point where the notes were false a lot of the time!

This cello came in for a new soundpost and some adjustments to the nut and bridge to get a comfortable string curve for the bow and easy string action up in 1st position. I also retouched some chips in the varnish around the edges and fitted a parchment patch on the bridge to stop the A string cutting in.

Last week was the week of bow rehairs, it turns out! 5 out of 6 of the bows I worked on. (They also required a good selection of other maintenance jobs, including three new eyelets, a new tip plate and a new lapping and thumb leather.)

The owner of this violin brought it in for a general setup check. It turned out that somehow the bridge had been moved forwards over the years, so the string length was almost a centimetre shorter than the instrument was built for and the strings were much too high off the fingerboard. Unfortunately the soundpost, whilst badly fitting had been pushed too tight at some point, resulting in the top becoming distorted. I replaced that as well as fitting new strings.

This 1980s viola needed a new soundpost because the old one kept falling over. It also required some peg adjustment. (The next time the pegs needs adjusting, they’ll probably need replacing, as they have almost run out of useable length.)

This violin came in for an emergency crack repair. For the best prognosis, the top usually needs to be taken off the top of the instrument to get proper access to clean, clamp and internally reinforce the repair. However this increases the scope of the job significantly, so in this case we’ve decided to go with an external glue-up and see if it holds. I also modified the fit of the pegs, as they weren’t at all easy to tune, and added a parchment patch to the bridge for the E string.

This violin came in for some minor setup tweaks. The tone was a bit weak on the bass end, and there were also buzzes around some notes. Fitting a new soundpost and doing a light fingerboard reshoot should hopefully put paid to the issues and let the instrument sound its best.

This lovely old 7/8 violin came in for some setup adjustments. The old bridge was too wide for the location of the bass bar, and the soundpost was not in an ideal position either. I fitted a new bridge and post as well as replacing the old tailgut and fitting a new set of strings.

This violin came in because the owner was finding it very frustrating to play and tune due to the very high neck angle (almost 30% more than standard), leading to the need for a very tall bridge. The fingerboard was also twisted towards the bass side.

The fingerboard was also a bit lumpy and was almost ready for a reshoot, so in the end I decided the best course of action was to fit a new fingerboard, which would let me adjust all of the angles safely while there was still an excess of wood. I also fitted a new soundpost, as the old one was very loose and skewed sideways. In the end I managed to reduce the overall neck angle down to within a normal range, and fitted a new bridge to match it (see the before and after shots of the bridge.)

The owner of this electro-acoustic violin wanted some mechanical pegs fitted in order to ease tuning. She was also having some issues getting the E string to sound easily. I realised that the string had cut into the bridge, meaning it was sitting very low and was difficult to catch with the bow during fast passages, so I adjusted the bridge curve a bit and fitted a parchment patch to avoid this happening in the future. (A standard feature on my new bridges.)